Windows Autopilot Device Preparation in Intune: A Technical Guide
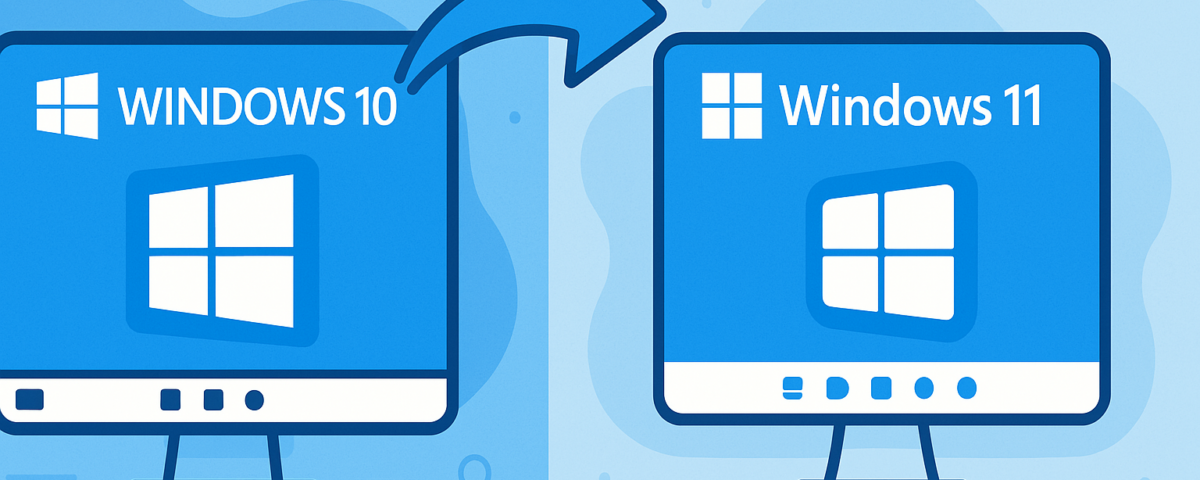
March 14, 2025Windows 11 is here, bringing a fresh look, new features, and productivity enhancements. If you’re currently running Windows 10, you might be wondering if you should upgrade and how to go about it. This guide will walk you through the process, from checking compatibility to completing the installation.
While Windows 10 remains a solid and supported operating system, Windows 11 offers a redesigned interface, improved window management (Snap Layouts!), integrated Microsoft Teams chat, Android app support (via the Amazon Appstore), and enhanced security features. If your PC meets the requirements, the upgrade is generally smooth and free.
Let’s get started!
TL;DR: Quick Guide to Upgrading to Windows 11
- Check Compatibility: Download and run Microsoft’s PC Health Check app to see if your computer meets the minimum requirements (especially TPM 2.0 and Secure Boot).
- Back Up Your Data: Crucial step! Use OneDrive, an external hard drive, or another cloud service to back up important files before starting.
- Use Windows Update (Easiest Method): Go to
Settings>Update & Security>Windows Update. If the upgrade is ready for your PC, you’ll see an option to download and install Windows 11. Follow the prompts. - Alternative: Installation Assistant: If Windows Update doesn’t offer it (but your PC is compatible), download the Windows 11 Installation Assistant from the official Microsoft website and run it.
- Follow On-Screen Instructions: The process involves downloading, installing, and several restarts. It can take an hour or more. Ensure your laptop is plugged in.
- Enjoy Windows 11! Explore the new features once the upgrade is complete.
Step 1: Before You Begin – The Essential Checklist
Don’t jump straight into the upgrade! A little preparation goes a long way.
A. Check System Requirements & Compatibility:
Windows 11 has stricter hardware requirements than Windows 10. The most common hurdles are the need for TPM 2.0 (Trusted Platform Module) and Secure Boot capabilities, along with a compatible CPU.
- How to Check: The easiest way is to download and run Microsoft’s official PC Health Check app.
- Run the App: Install and run it. Click the “Check now” button under the Windows 11 banner. It will tell you clearly whether your PC is compatible or, if not, why.
- Troubleshooting: If it mentions TPM or Secure Boot, these settings can often be enabled in your PC’s BIOS/UEFI settings. Consult your PC manufacturer’s documentation if you’re comfortable doing this. Warning: Incorrect changes in BIOS/UEFI can prevent your PC from starting.
B. Back Up Your Important Data:
This is the most critical step. While the upgrade process is designed to keep your files and apps, things can occasionally go wrong. Don’t risk losing precious photos, documents, or project files.
- Options:
- Cloud Storage: Use services like OneDrive, Google Drive, or Dropbox. Ensure everything is synced before you start.
- External Hard Drive/SSD: Copy your important folders (Documents, Pictures, Videos, Desktop, etc.) to an external drive.
- Full System Image (Optional, Advanced): Use Windows’ built-in Backup and Restore (Windows 7) tool or third-party software to create a full system image.
C. Ensure Windows 10 is Up to Date:
Make sure you have the latest updates for Windows 10 installed. Go to Settings > Update & Security > Windows Update and click Check for updates.
Step 2: Choosing Your Upgrade Path
Once you’ve confirmed compatibility and backed up your data, you have a few ways to initiate the upgrade.
Method 1: Windows Update (Recommended & Easiest)
This is the simplest method if Microsoft has determined your specific PC configuration is ready for the upgrade.
- Go to
Settings(Win key + I). - Navigate to
Update & Security. - Select
Windows Update. - Click
Check for updates. - If your PC is eligible and the rollout has reached you, you’ll see a large banner/section mentioning the upgrade to Windows 11. Click
Download and install. - Follow the on-screen prompts. Windows will download the necessary files and notify you when it’s ready to install (which involves restarting your PC).
Method 2: Windows 11 Installation Assistant (If Update Isn’t Offered)
If Windows Update doesn’t show the upgrade but the PC Health Check confirmed compatibility, you can use the Installation Assistant.
- Go to the official Microsoft Windows 11 Download page.
- Under the “Windows 11 Installation Assistant” section, click
Download Now. - Run the downloaded tool. It will re-verify compatibility and guide you through downloading and installing Windows 11.
- Accept the license terms and follow the prompts.
Method 3: Create Windows 11 Installation Media (Advanced)
This method is suitable for performing a clean installation (erasing everything) or upgrading multiple PCs. You can create a bootable USB drive or download an ISO file.
- Go to the official Microsoft Windows 11 Download page.
- Choose either “Create Windows 11 Installation Media” (to make a USB/DVD) or “Download Windows 11 Disk Image (ISO)”.
- Follow the instructions provided by the tool or on the website.
- To upgrade using the media, you can either:
- Run
setup.exedirectly from the created media while Windows 10 is running (this performs an in-place upgrade). - Boot your PC from the USB/DVD to perform a clean install (this will erase your drive).
- Run
Step 3: The Upgrade Process Itself
Whichever method you choose (except a clean install), the process is largely automated:
- Downloading: Windows will download the installation files (several gigabytes). This can take time depending on your internet speed. You can continue using your PC during the download.
- Installation: Once downloaded, Windows will prepare for installation and prompt you to restart.
- Restarts: Your PC will restart multiple times. You’ll see progress screens indicating the update percentage. Do not turn off your PC during this phase.
- Configuration: After the main installation restarts, Windows 11 will perform some final setup steps.
- Login: You’ll eventually arrive at the new Windows 11 lock screen. Log in with your existing password or PIN.
The entire installation process (after downloading) can typically take anywhere from 30 minutes to over an hour, depending on your hardware speed (especially your storage drive – SSDs are much faster than HDDs). Ensure laptops are plugged into power.
Step 4: Welcome to Windows 11! Post-Upgrade Checks
Congratulations! You’re now running Windows 11. Take a moment to:
- Check Your Files: Ensure all your important files are where you expect them to be.
- Test Your Apps: Launch your frequently used applications to make sure they work correctly.
- Check Drivers: Go to
Settings>Windows Update>Advanced options>Optional updates. Check if there are any driver updates specific to Windows 11 offered. Also, visit your PC or component manufacturer’s website for the latest drivers if you encounter issues (especially with graphics, Wi-Fi, or sound). - Explore: Take some time to familiarize yourself with the new Start menu, centered Taskbar (you can move it back to the left in Taskbar settings!), Snap Layouts, Widgets, and updated Settings app.
Step 5: Having Second Thoughts? Rolling Back
If you encounter significant issues or simply don’t like Windows 11, Microsoft provides a 10-day window (by default) to easily roll back to Windows 10 without losing your files (though backing up again before rolling back is still wise).
- Go to
Settings>System>Recovery. - Under “Recovery options”, click
Go back. - Follow the prompts, providing feedback on why you are rolling back.
- Your PC will restart and restore your previous Windows 10 installation.
Note: After 10 days, this option is automatically removed to free up disk space. Rolling back after that requires a clean installation of Windows 10.
Upgrading to Windows 11 can breathe new life into a compatible PC. By following these steps, especially the crucial preparation of checking compatibility and backing up data, you can ensure a smooth transition to Microsoft’s latest operating system. Enjoy exploring the new experience!


