Mastering OneDrive: Resetting OneDrive – A Step-by-Step Guide
August 9, 2023
Deploying Microsoft 365 Apps via Intune: A How-To Guide
August 10, 2023Granting Full Mailbox Access in Office 365 and Exchange Server Environments
Granting 'Full Mailbox' rights to a user is frequently needed in Office 365 (Exchange Online) and Exchange Server environments. This is especially true for shared mailboxes, delegation, or troubleshooting purposes. This guide will walk you through the process of granting these permissions in both environments. We'll dive into methods using the Exchange Admin Center and the PowerShell Add-MailBoxPermission cmdlet, as well as guidance on managing permissions for shared and resource mailboxes.
Using PowerShell Add-MailBoxPermission for Full Access in Exchange Server
While there are multiple permission levels and parameters in Exchange, this article will exclusively focus on the 'Full Access' right. This permission empowers a user to use Outlook for tasks like reading, sending, and managing another person's mail, calendar events, contacts, and other mailbox items. We'll discuss other access levels like 'Send As' and 'Send on Behalf' in subsequent articles.
For those utilizing the on-premises version of Exchange Server, here's how to grant full mailbox access with PowerShell:
-
Launch the Exchange Management Shell on your Exchange Server.
-
Utilize the Add-MailboxPermission PowerShell cmdlet as follows:
Add-MailboxPermission -Identity "TargetMailbox" -User "GrantingUser" -AccessRights FullAccess -InheritanceType AllRemember to replace "TargetMailbox" with the name of the mailbox to which you wish to give permissions, and "GrantingUser" with the alias of the user receiving the access.
And that wraps it up!
Granting Full Access Permissions in Exchange Server through the Exchange Admin Center (EMC)
For those using on-premises Exchange Server environments, full mailbox access can also be granted via the Exchange Management Console (EMC). Here's a step-by-step guide:
- Open the Exchange Management Console on your Exchange Server.
- Navigate to the "Recipient Configuration" and find the mailbox you want to grant access to.
- Right-click on the desired mailbox and select "Manage Full Access Permission."
- Click "Add" and choose the user to whom you wish to grant access.
- Select "Manage" to establish the Full Access permission for the selected user.
- Save your changes.
- All done!
Adding Mailbox Permissions in Office 365
Just like in the on-premises Exchange Server, permissions can be granted in Office 365 using either the GUI or PowerShell. Below, we'll outline the steps for both methods.
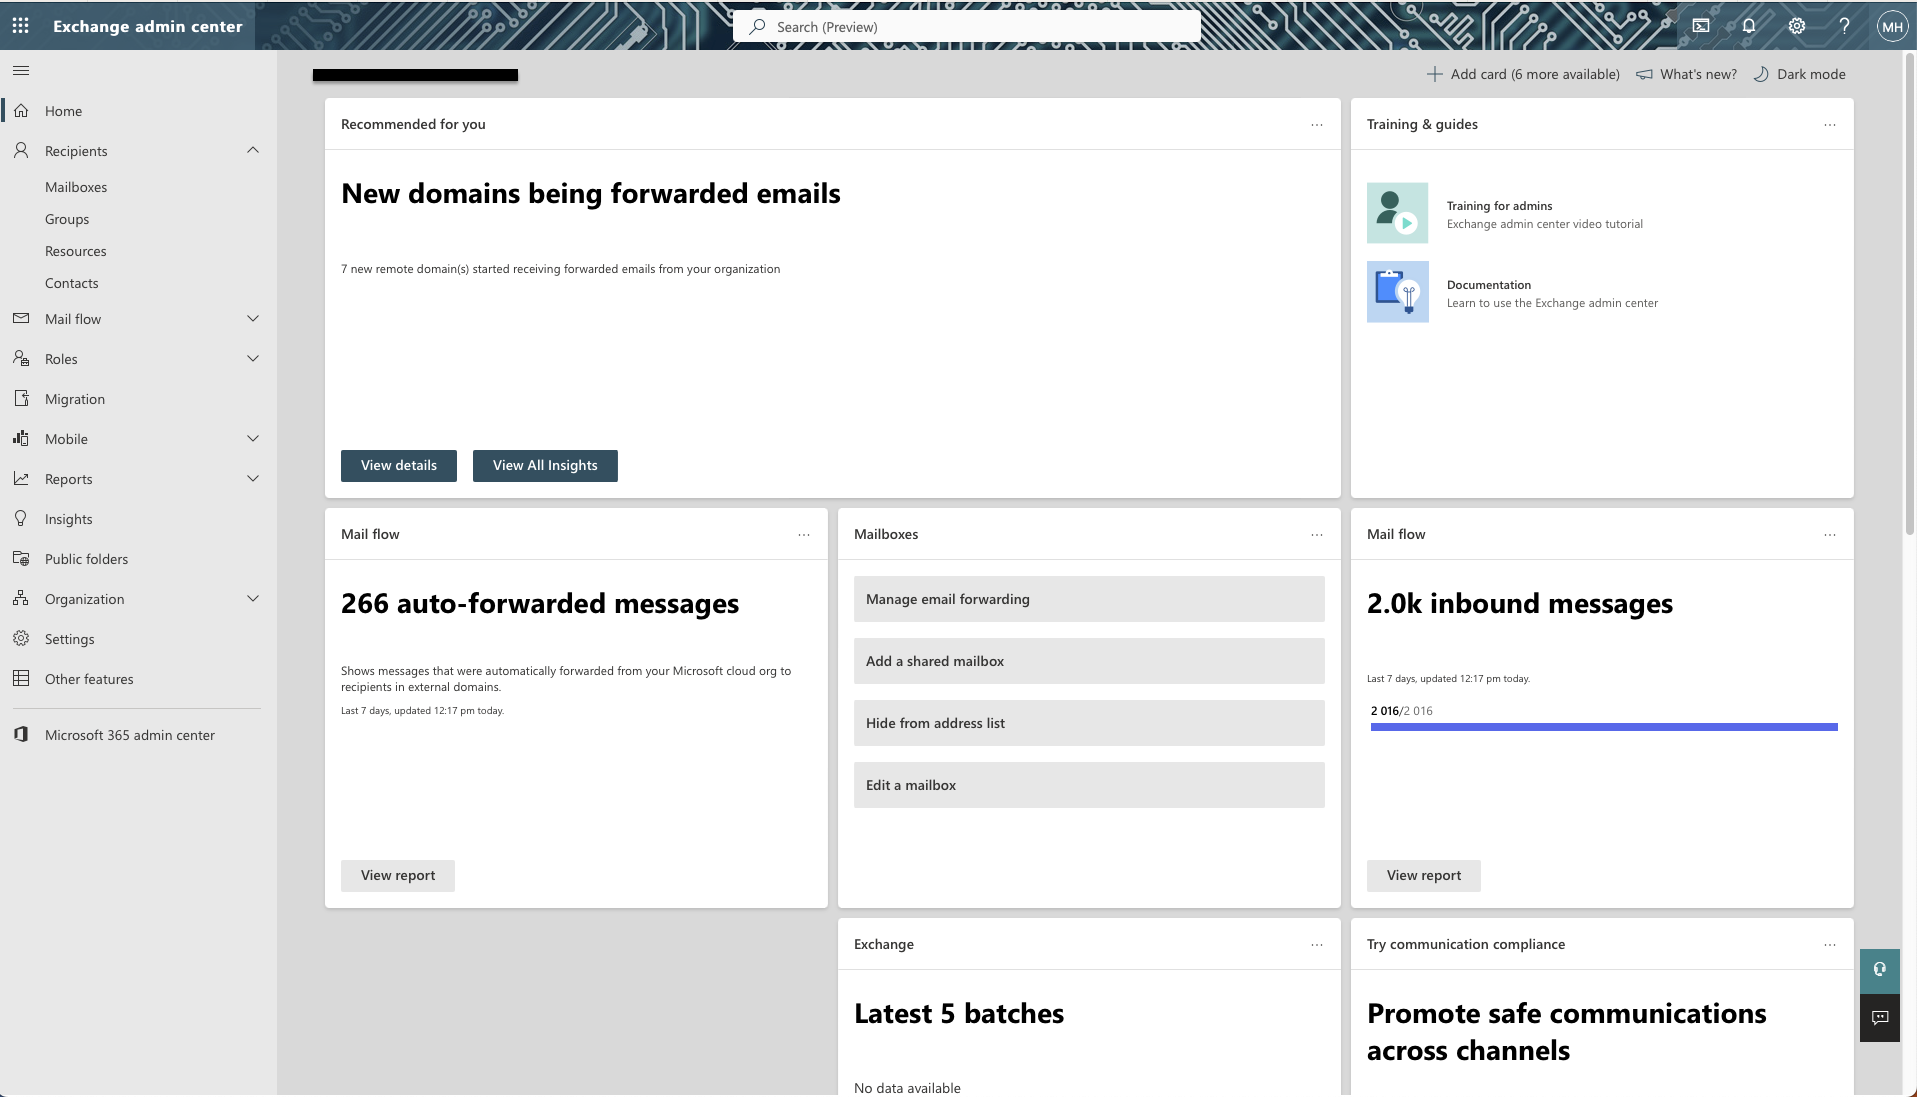
Using the Exchange Admin Center (GUI) Portal
- Begin by launching the Exchange Admin Center.
- Look to the left panel, and under "Recipients," select "Mailboxes."
These steps set the stage for you to manage the necessary permissions through Office 365's graphical interface. Whether using on-premises Exchange Server or Office 365, the ability to manipulate mailbox permissions is essential, and these guidelines will ensure a smooth and secure process.

-
Managing Mailboxes in the Exchange Admin Center
- Select the user you want to manage.
-
Accessing Full Access Permissions: In the "Read and manage (Full Access)" section, click the "Edit" button.
-
Adding Members for Full Access: Once in the permissions window, locate and click on the "+ Add members" button. Here, you'll be presented with a list from which you can select the user(s) you want to grant permissions.
-
Saving and Confirming: After selecting the desired user(s), click the "Save" button located at the bottom of the window. A confirmation prompt will then appear; click the "Confirm" button to finalize your permission adjustments.
By following these steps, you can efficiently manage and provide Full Access permissions to chosen users within the Exchange Admin Center.
You are done!
Granting Full Access Permissions in Exchange Online with PowerShell
Utilizing PowerShell with Exchange Online closely mirrors the procedures on the on-premises platform. Attention to the syntax is key in PowerShell; even a small mistake can produce unexpected results.
Steps to Grant Permissions using Exchange Online PowerShell:
-
Connecting to Your Exchange Online Tenant: Begin by connecting to your Microsoft 365 Developer tenant with the following command:
Connect-ExchangeOnline -
Granting Full Access Permissions: To grant Full Access to a Contoso user's mailbox, use the
Add-MailboxPermissioncommand. You'll need to run this command for each user you're granting access to:Add-MailboxPermission -Identity user@contoso.onmicrosoft.com -User "Contoso User Name" -AccessRights FullAccess -
Waiting for the Changes to Take Effect: The changes typically become effective within 5-10 minutes.
Always exercise caution and verify your commands when working with PowerShell. Its powerful functionality requires careful handling and precision to achieve the intended outcomes.


